Drag to rotate · Wheel / two fingers to zoom & pan
This device cannot show the 3D view. Follow the step pictures and text below instead.
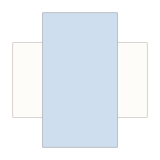
1. Cross two cards
Set aside one of seven matching cards for the roof. First build the body from the other six. Lay the red card sideways, white side up. Turn the blue card upright, coloured side up, and lay it across the middle of the red one. The white sides touch, and the overlap is a square.
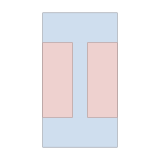
2. Fold the bottom card’s ends
Fold the right end of the red card up over the edge of the blue card and press it flat. Fold the left end the same way.
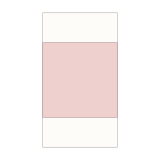
3. Turn over
Turn the pair over as it is. Now the blue card is underneath.
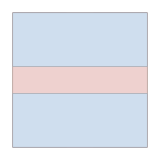
4. Fold the other card’s ends
Fold the top end of the blue card up over the edge of the red card and press it flat. Fold the bottom end the same way.
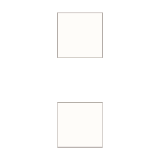
5. Open the flaps and pull apart
Open every folded end back to a right angle. Lift the red card off and set it down the other way up. Each card is now a unit: a square with a flap standing up on two opposite sides.
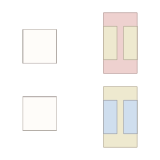
6. Fold two more pairs
Make two more pairs the same way from the last four cards. Lay the yellow and blue cards sideways, white side up, and lay the red and yellow cards upright across them, coloured side up. Fold the ends of each bottom card up over the edges of the top card.
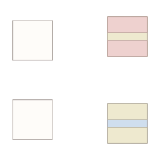
7. Turn over and fold the other cards
Turn both pairs over as they are. The red and yellow cards are now underneath: fold their top and bottom ends up over the edges of the cards lying on them.
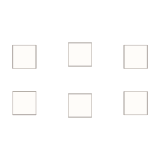
8. Open the flaps and pull apart
As with the first pair, open every folded end to a right angle. Lift off the yellow and blue cards on top and set them down the other way up. All six units are ready.
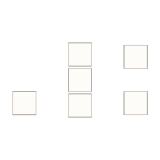
9. Set down the floor
Put one red unit in the middle with its flaps standing up. This is the floor of the cube.
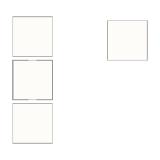
10. Stand up the blue walls
Stand the two blue units up with their flaps pointing inward and lower them inside the red flaps. The red flaps hug the blue walls from outside.
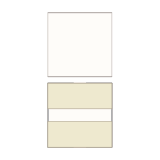
11. Slide in the yellow walls
Pick up the two yellow units and open the flap that will go at the bottom out flat. Stand the units up, lower them inside the blue flaps, then fold the opened flaps in under the floor.
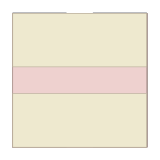
12. Close the lid
Open the two top flaps of the yellow walls straight up. Turn the last red unit flaps down and lower it on top, its flaps going down outside the blue walls. Fold the yellow flaps back down over the lid. The cube is done!
13. Open the roof tabs
Open just the two upper yellow wall tabs straight up. Leave the red lid in place.
14. Mark the roof ridge
Fold the seventh card in half and unfold, bringing its short edges together. This makes the roof ridge.
15. Bend the pitched roof
Bend along the centre ridge into a mountain. Adjust until the two ends are as far apart as the house is wide.
16. Lower the roof onto the house
Lift the roof above the house. Lower both ends inside the raised yellow tabs until they meet the edges of the lid.
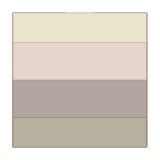
17. Secure the roof under the tabs
Fold the yellow tabs inward to match the roof slope. They cover the roof ends and hold the house together. The triangular gable ends remain open.
Press play, then follow along with your paper.
1. Cross two cards
Set aside one of seven matching cards for the roof. First build the body from the other six. Lay the red card sideways, white side up. Turn the blue card upright, coloured side up, and lay it across the middle of the red one. The white sides touch, and the overlap is a square.
Tip:
Ta-da! You made it!
Your paper became something wonderful. Fold it again, or meet your next paper friend.
Make a card village
- The triangular gable ends are open. Rotate the view to find the roof card and the separate red lid below it.
- Try different roof colours or draw doors and windows on your cards to make your own village.
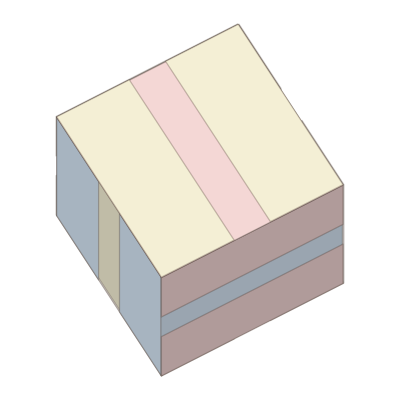 Business-card cube
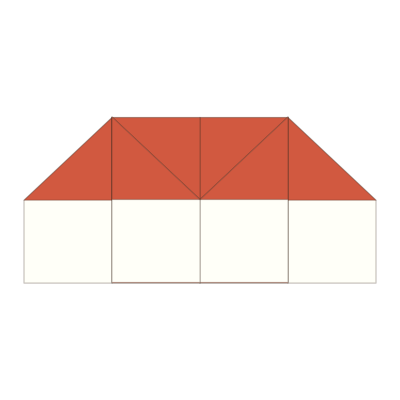 House
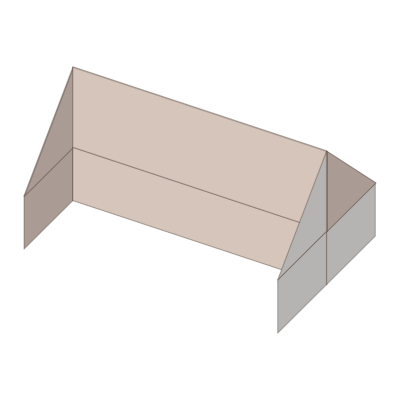 Folded barn