Drag to rotate · Wheel / two fingers to zoom & pan
This device cannot show the 3D view. Follow the step pictures and text below instead.

1. Crease the centre line
Coloured side up. Fold the left edge to the right edge and unfold.
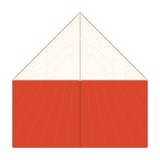
2. Fold the top corners to the centre
Fold the top edge on each side down to the centre line. The corners meet in the middle of the paper.
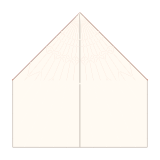
3. Turn over
Turn the whole model over.

4. Fold the slanted edges to the centre
Top layer only: from the top point, fold each slanted edge to the centre line. The triangle behind comes round to the front with it, without being creased.
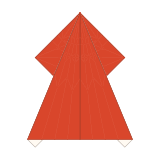
5. Turn over
Turn the whole model over.

6. Fold the edges to the centre
From the top point, fold both long edges to the centre line. Leave the diamond behind as it is.

7. Again to the centre
Fold the edges to the centre line once more. This makes the long, thin tail.
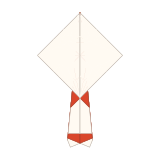
8. Turn over
Turn the whole model over.
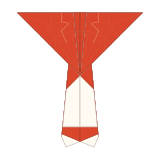
9. Fold the diamond into a triangle
Fold the top corner of the diamond down to its bottom corner, along the horizontal diagonal.
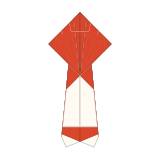
10. Inside reverse fold both corners
On 45° lines from the middle of the top edge, push each side corner in between the front and back layers. It becomes a small diamond (a square base).
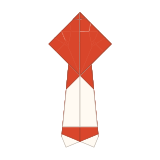
11. Flip the left flap to the right
Flip the top left flap over to the right along the centre line, like turning a page. The corner you pushed inside now shows as a diamond.
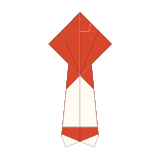
12. Crease the edges to the centre
Fold the two lower edges of the top diamond to the centre line and unfold.
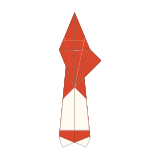
13. Petal fold
Lift the bottom corner of the top layer upward. Let the sides fold in along the creases to meet at the centre, and flatten into a long diamond.
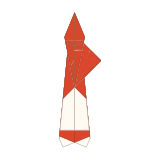
14. Narrow the flap
On lines from the bottom point, fold both edges of the long diamond to the centre line. The flap becomes thin.
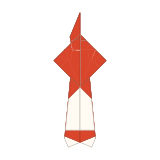
15. Flip the flaps
Flip the layers you turned to the right back to the left along the centre line; the thin flap folds in half and lies on the left. Then flip the top right flap over to the left so the other diamond shows.
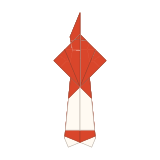
16. Crease the edges on this side
Fold the two lower edges of the diamond to the centre line and unfold.
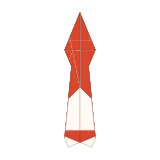
17. Petal fold this side
Lift the bottom corner and petal fold, as before.
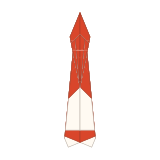
18. Narrow this flap too
As before, fold both edges to the centre line from the bottom point, then flip the layers on the left back to the right. Two thin wings now point up side by side.
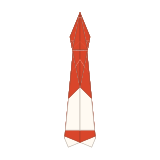
19. Fold the lower point up (neck)
Fold the bottom point of the front layers up along the line where the wings begin. It lies over the wings and becomes the neck.
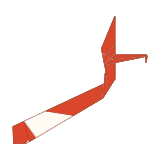
20. Fold in half; neck, head and tail form
Fold the right half behind along the centre line. As it closes, the neck turns out on its marked lines to stand at a right angle to the folded edge, its tip bends down into the head, and the long tail swings back and down between the layers of the body.

21. Spread the wings — done
On a line just above the neck, fold the front wing down toward you and the back wing away from you so they spread in a shallow V. Stand it up and your phoenix is done!
1. Crease the centre line
Coloured side up. Fold the left edge to the right edge and unfold.
Tip:
Finished!
Well done! Watch it again or try another model.
Finishing touches
- With real paper you can gently curl the tail with your fingers or fan its layers a little. The 3D model keeps the tail straight.
- Adjust the angle of the head and wings until the phoenix looks just right.
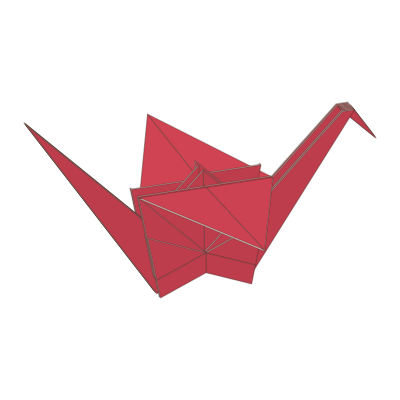 Crane
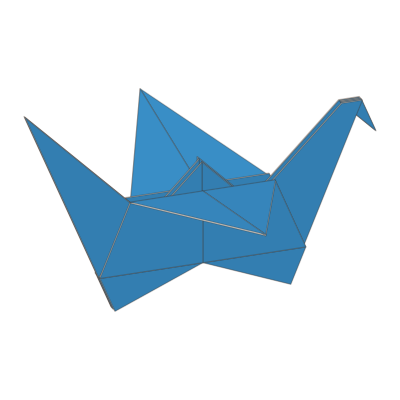 Flapping bird
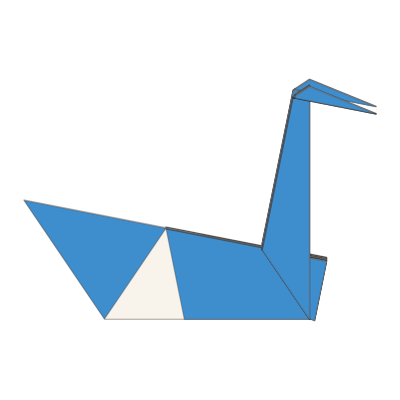 Swan