Drag to rotate · Wheel / two fingers to zoom & pan
This device cannot show the 3D view. Follow the step pictures and text below instead.
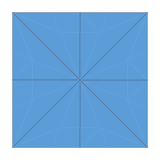
1. Crease the diagonals and middles
Coloured side up. Fold and unfold both diagonals and both middle lines, all as valley folds on this side.
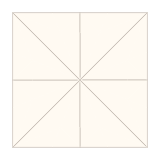
2. Turn over
Turn over so the white side is up.
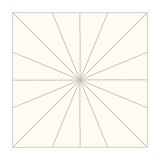
3. Crease between the lines
Fold so that a middle crease lies on the diagonal next to it, crease and unfold: this adds a line through the centre halfway between them. Do it four times, turning the paper, until 16 evenly spaced creases leave the centre.
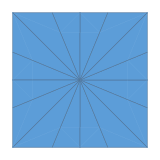
4. Turn over
Turn over again, coloured side up.
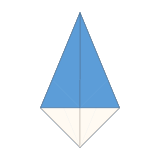
5. Close it like an umbrella
Let the diagonals and middles fold as valleys and the in-between creases as mountains, and gather the paper around the centre like closing an umbrella. Press it flat: a kite pointed at the top, with a triangle in front and two corners showing below it.
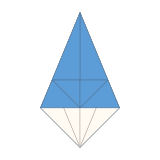
6. Shape the front side, then unfold
Lift the lower part of the front triangle up along the horizontal line. At the same time bring its two side corners to the centre line, and fold the white corners behind it in along the slanted lines from the bottom point. Flatten (the lower half becomes a narrow diamond) and crease firmly. Then lay the lifted part back down: the new creases stay.
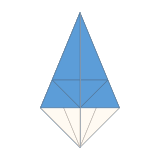
7. Turn a layer, shape and unfold
Turn the top layer on the right over to the left like a page, so a new side faces you. Shape it the same way, crease, and lay it back down.
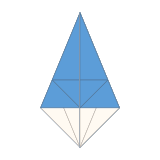
8. Turn over, shape and unfold
Turn the model over. Shape the back side the same way, crease, and lay it back down.
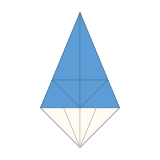
9. Shape the last side and unfold
Turn the top layer on the right over to the left and shape the last side the same way, crease, and lay it back down. All four sides now carry the same creases.
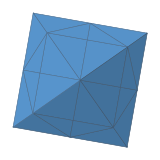
10. Open the sides into a roof
Hold the top point, stand the model up and spread the four sides evenly. The side edges of neighbouring sides meet and form a square pointed roof, and the white corner parts hang down inside the roof corners, folded double: they are the legs. The triangle below each horizontal crease (the eave) still hangs down along the roof.

11. Raise the eaves and stand it up
Lift each hanging eave outward along its horizontal crease until it is level. The small triangles beside it fold along the creases you made and become braces running from under the eave to the legs. Stand it on its four legs: your kiosk is done!
1. Crease the diagonals and middles
Coloured side up. Fold and unfold both diagonals and both middle lines, all as valley folds on this side.
Tip:
Finished!
Well done! Watch it again or try another model.
Play ideas
- Fold a few in different colours and line them up in a paper garden.
- Tilt the eaves up or down and see how the roof changes.
 Tenjin shrine
 Jumping frog
 Tent