Skip to content
Paper Play

Buildings

Japanese kiosk

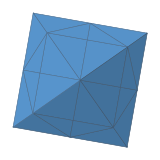
Close the paper like an umbrella, shape all four sides, then stand up a kiosk with a pointed roof, eaves and four legs.

  • DifficultyChallenging
  • PaperSquare, 15 × 15 cm
  • Steps11
  • About20 min

Why this level: Sixteen creases collapse at once, the same fold is repeated on four sides as you turn the layers, and the finish is 3D.

You need: 1 sheet of origami paper

Preview Preview: checked on screen; real-paper verification is in progress.

Start folding

Story

This kiosk first appeared in 1900 in Mon Journal, a French children’s magazine, in an article by a stage magician who called it “the Japanese kiosk”. Whether it really came from Japan is not known. French and Spanish books printed it again over the next decades, and a 1956 English book called it “Festival Lanterns”, saying that stone lanterns of this shape stand in a Japanese garden — a claim that has not been confirmed.

Did you know? The 1900 article ends with a promise: next time, readers would learn how the same folds turn into a jumping frog.
Learn more (external sources)

Steps at a glance

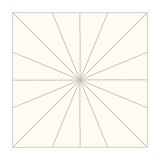
  1. 1. Crease the diagonals and middles

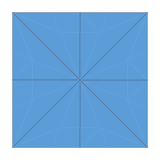
    Coloured side up. Fold and unfold both diagonals and both middle lines, all as valley folds on this side.

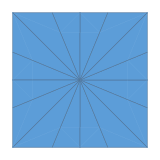
  2. 2. Turn over

    Turn over so the white side is up.

  3. 3. Crease between the lines

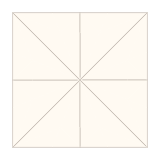
    Fold so that a middle crease lies on the diagonal next to it, crease and unfold: this adds a line through the centre halfway between them. Do it four times, turning the paper, until 16 evenly spaced creases leave the centre.

  4. 4. Turn over

    Turn over again, coloured side up.

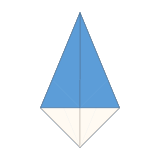
  5. 5. Close it like an umbrella

    Let the diagonals and middles fold as valleys and the in-between creases as mountains, and gather the paper around the centre like closing an umbrella. Press it flat: a kite pointed at the top, with a triangle in front and two corners showing below it.

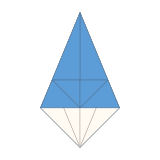
  6. 6. Shape the front side, then unfold

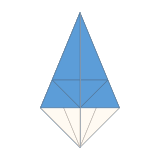
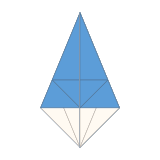
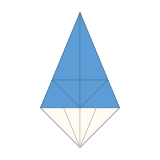
    Lift the lower part of the front triangle up along the horizontal line. At the same time bring its two side corners to the centre line, and fold the white corners behind it in along the slanted lines from the bottom point. Flatten (the lower half becomes a narrow diamond) and crease firmly. Then lay the lifted part back down: the new creases stay.

  7. 7. Turn a layer, shape and unfold

    Turn the top layer on the right over to the left like a page, so a new side faces you. Shape it the same way, crease, and lay it back down.

  8. 8. Turn over, shape and unfold

    Turn the model over. Shape the back side the same way, crease, and lay it back down.

  9. 9. Shape the last side and unfold

    Turn the top layer on the right over to the left and shape the last side the same way, crease, and lay it back down. All four sides now carry the same creases.

  10. 10. Open the sides into a roof

    Hold the top point, stand the model up and spread the four sides evenly. The side edges of neighbouring sides meet and form a square pointed roof, and the white corner parts hang down inside the roof corners, folded double: they are the legs. The triangle below each horizontal crease (the eave) still hangs down along the roof.

  11. 11. Raise the eaves and stand it up

    Lift each hanging eave outward along its horizontal crease until it is level. The small triangles beside it fold along the creases you made and become braces running from under the eave to the legs. Stand it on its four legs: your kiosk is done!

Settings

Clear saved data