Drag to rotate · Wheel / two fingers to zoom & pan
This device cannot show the 3D view. Follow the step pictures and text below instead.
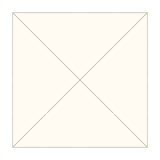
1. Crease the diagonals
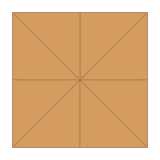
You need three sheets of the same size. Start with one, white side up. Fold one corner onto the opposite corner and unfold, then the other two corners, to crease both diagonals. They cross at the centre.
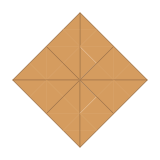
2. Fold the four corners to the centre
Fold each of the four corners to the centre point.
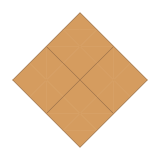
3. Turn over
Turn the whole model over.
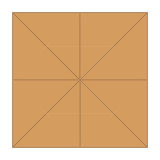
4. Corners to the centre again
Fold the four new corners to the centre point again.
5. Turn over
Turn the model over again.

6. Corners to the centre a third time
Fold the four corners to the centre point once more. The paper becomes small and thick.

7. Turn over
Turn over: you can see four small square pockets.
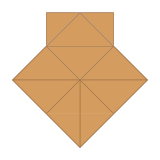
8. Open the top pocket (collar)
Put a finger into the slit of the top pocket, open it, pull it upward and flatten it into a rectangle: the collar of the shirt.
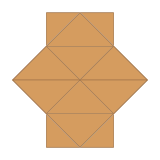
9. Open the bottom pocket (waist band)
Open the opposite pocket at the bottom in the same way, pulling it downward and flattening it: the waist band.
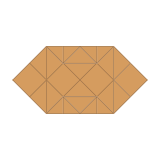
10. Open out the sides
Behind the right point, unfold the two hidden corners above and below it out to the side. Then swing the right flap outward: the hidden paper comes out as a big point. Do the same on the left.
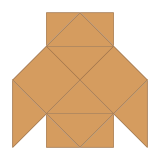
11. Make the sleeves
Fold each big point in half along the middle line, then fold the opened corners back behind along their old creases. The point swings round behind and hangs down as a sleeve. You have a shirt with a collar, a waist band and two sleeves.
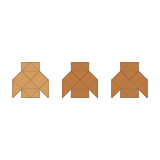
12. Fold two more shirts
Repeat steps 1–11 with the other two sheets to fold two more shirts just like the first. Now you have three: A, B and C.
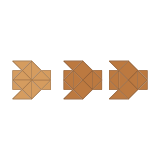
13. Lay out the three parts
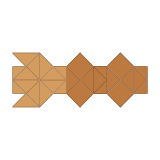
Turn A (the head) over and lay it on the left with its collar to the right. Turn B and C so their collars point right too, without turning them over, and lay them in a row to its right.
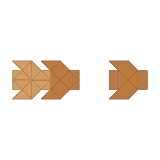
14. Slide B into A
Slide the waist band of B (its left rectangle) all the way into the collar pocket of A. A becomes the head and B the front of the body.

15. Slide C into B
In the same way, slide the waist band of C all the way into the collar pocket of B. C is the back of the body, and the small square at the right end (Y) is the tail.
16. Turn the legs down
Turn the four sleeves of the body (B and C) down at the middle line where they are attached, until they stand at right angles to the body. They are the four legs.

17. Turn the ears up — done
Turn the two sleeves of the head (A) up at their middle line until they stand straight up: the ears. Stand it on its four legs and your dog is done! Draw the eyes on the head.
1. Crease the diagonals
You need three sheets of the same size. Start with one, white side up. Fold one corner onto the opposite corner and unfold, then the other two corners, to crease both diagonals. They cross at the centre.
Tip:
Finished!
Well done! Watch it again or try another model.
Finishing touches
- Draw two eyes on the head (A) with a pen. The front end (X) is the nose and the small square at the back (Y) is the stubby tail.
- If it will not stand, press the joints firmly and spread the four legs a little until it balances.
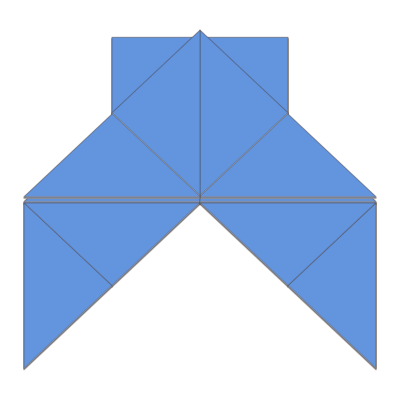 Hakama (trousers)
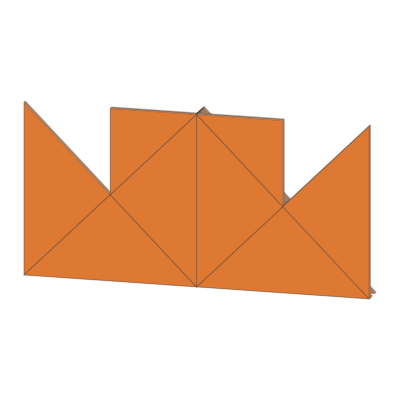 Steamship
 Yakko-san