Skip to content
Paper Play

Animals

Three-part dog

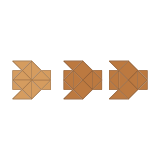
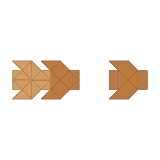
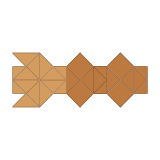
A traditional dog made of three identical folded “shirts” slid into each other: one is the head, two are the body, and the sleeves turn down into four legs.

  • DifficultyChallenging
  • Paper3 squares, 15 × 15 cm × 3
  • Steps17
  • About30 min

Why this level: You open pockets and pull hidden corners out of thick, three-times-blintzed paper, make the same unit three times, slide them into each other’s pockets and finish with standing legs and ears.

You need: 3 sheets of thin origami paper of the same size (a small dog looks best)

Preview Preview: checked on screen; real-paper verification is in progress.

Start folding

Story

This dog is built from three small folded “shirts” slid into each other: one is the head and two make the body. The oldest known instructions are in an American paper-folding book of 1928. Even earlier, a Chinese book of 1917 shows a tiger made by joining three clothes-shaped pieces. Nobody knows who first thought of it.

Did you know? A French book of 1949 shows the same dog, and with a slightly different head it becomes a fox.

Learn more (external sources)

Steps at a glance

  1. 1. Crease the diagonals

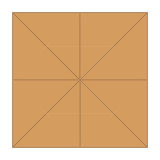
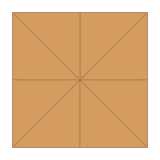
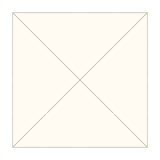
    You need three sheets of the same size. Start with one, white side up. Fold one corner onto the opposite corner and unfold, then the other two corners, to crease both diagonals. They cross at the centre.

  2. 2. Fold the four corners to the centre

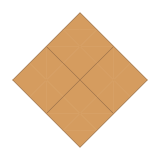
    Fold each of the four corners to the centre point.

  3. 3. Turn over

    Turn the whole model over.

  4. 4. Corners to the centre again

    Fold the four new corners to the centre point again.

  5. 5. Turn over

    Turn the model over again.

  6. 6. Corners to the centre a third time

    Fold the four corners to the centre point once more. The paper becomes small and thick.

  7. 7. Turn over

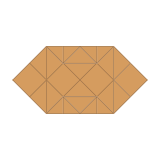
    Turn over: you can see four small square pockets.

  8. 8. Open the top pocket (collar)

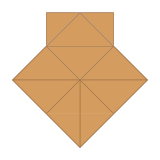
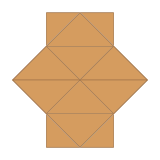
    Put a finger into the slit of the top pocket, open it, pull it upward and flatten it into a rectangle: the collar of the shirt.

  9. 9. Open the bottom pocket (waist band)

    Open the opposite pocket at the bottom in the same way, pulling it downward and flattening it: the waist band.

  10. 10. Open out the sides

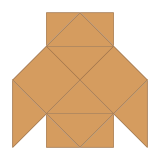
    Behind the right point, unfold the two hidden corners above and below it out to the side. Then swing the right flap outward: the hidden paper comes out as a big point. Do the same on the left.

  11. 11. Make the sleeves

    Fold each big point in half along the middle line, then fold the opened corners back behind along their old creases. The point swings round behind and hangs down as a sleeve. You have a shirt with a collar, a waist band and two sleeves.

  12. 12. Fold two more shirts

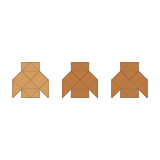
    Repeat steps 1–11 with the other two sheets to fold two more shirts just like the first. Now you have three: A, B and C.

  13. 13. Lay out the three parts

    Turn A (the head) over and lay it on the left with its collar to the right. Turn B and C so their collars point right too, without turning them over, and lay them in a row to its right.

  14. 14. Slide B into A

    Slide the waist band of B (its left rectangle) all the way into the collar pocket of A. A becomes the head and B the front of the body.

  15. 15. Slide C into B

    In the same way, slide the waist band of C all the way into the collar pocket of B. C is the back of the body, and the small square at the right end (Y) is the tail.

  16. 16. Turn the legs down

    Turn the four sleeves of the body (B and C) down at the middle line where they are attached, until they stand at right angles to the body. They are the four legs.

  17. 17. Turn the ears up — done

    Turn the two sleeves of the head (A) up at their middle line until they stand straight up: the ears. Stand it on its four legs and your dog is done! Draw the eyes on the head.

Settings

Clear saved data