Skip to content
Paper Play

Plants & flowers

Two-tone bellflower

A reordered traditional bellflower variant, with white bell walls and four colored points.

  • DifficultyChallenging
  • PaperSquare, 15 × 15 cm
  • Steps23
  • About25 min

Why this level: Four squash folds and petal folds lead to pinched corner reversals and a careful three-dimensional opening.

You need: 1 sheet of origami paper

Start folding

Story

This traditional paper bellflower begins with a frog base. Andrew Hudson and other folding guides identify it as traditional. This two-tone version reorders the preparation: pinch and reverse all four corners first, then open the flower. White bell walls contrast with four colored points. Its first folder and exact date of origin are not known.

Did you know? The flower is complete without curling its points. This version keeps the angular finish, with four straight points and an open mouth.
Learn more (external sources)

Steps at a glance

  1. 1. Fold in half and unfold

    White side up. Fold the bottom edge to the top edge and unfold, then fold the left edge to the right edge and unfold.

  2. 2. Turn over

    Turn over so the coloured side is up.

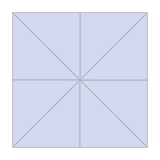
  3. 3. Fold both diagonals

    Fold one corner to the opposite corner to make a triangle, then unfold. Repeat on the other diagonal.

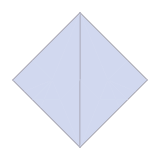
  4. 4. Collapse into a square base

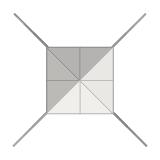
    Turn the paper so a corner points down. Using the creases, bring the top, left and right corners down to the bottom corner and flatten.

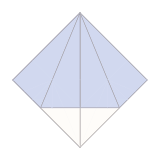
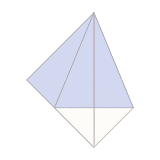
  5. 5. Squash the right flap

    Lift the top right flap upright, open its two layers and press it flat so its folded edge lies on the centre line. A coloured triangle shows above a white one.

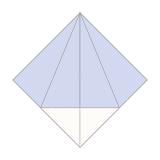
  6. 6. Turn over and squash

    Turn the model over. Squash the top right flap the same way.

  7. 7. Turn a layer, then squash

    Turn the top right layer over to the left like a page. Squash the flap that is now on the right.

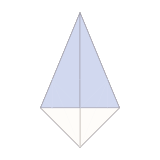
  8. 8. Squash the last flap

    Turn over, turn one layer from right to left and squash the last flap. Every side now shows a coloured triangle above a white one.

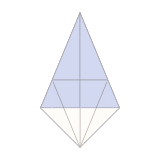
  9. 9. Crease for the petal fold

    Fold the two lower edges of the top layer to the centre line and unfold. Then fold the whole top down along the line joining the ends of those creases, and unfold.

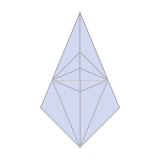
  10. 10. Petal fold

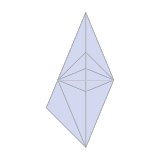
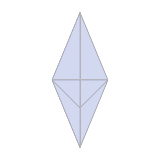
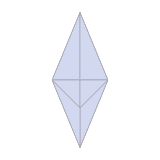
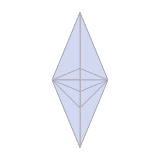
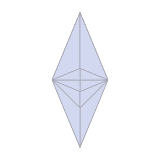
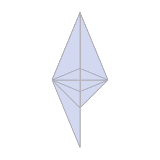
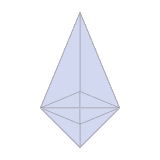
    Lift the coloured layer below the horizontal crease upwards. Its sides swing in to the centre line, and the lower edges of the white layer underneath fold in along the creases. Flatten: a small diamond appears.

  11. 11. Turn over; petal fold

    Turn over. Crease the two lower edges on this side too, then petal fold the same way.

  12. 12. Turn two layers; petal fold

    Turn two layers from right to left to show a side that is not folded yet. Crease it and petal fold.

  13. 13. Petal fold the last side

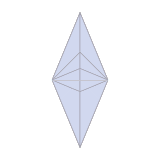
    Turn over, turn two layers from right to left and petal fold the last side. This is the frog base.

  14. 14. Lower the small flap

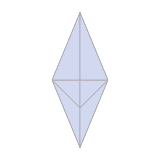
    Fold the small diamond flap down at its horizontal crease.

  15. 15. Lower the back flap

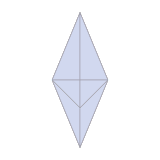
    Turn over and lower the small flap on this side too.

  16. 16. Turn two layers; lower the flap

    Turn two layers from right to left and lower the newly exposed small flap.

  17. 17. Lower the last small flap

    Turn over, turn two layers from right to left, and lower the last small flap.

  18. 18. Reverse the first corner inward

    Turn one layer from right to left to expose a long corner. Pinch the two sides of the long pointed corner together. Reverse its tip inward between its own layers at the horizontal crease, then spread its sides again.

  19. 19. Reverse the back corner

    Turn over and turn one layer from right to left. Pinch the two sides of the long pointed corner together. Reverse its tip inward between its own layers at the horizontal crease, then spread its sides again.

  20. 20. Reverse the third corner

    Turn two layers from right to left. Pinch the two sides of the long pointed corner together. Reverse its tip inward between its own layers at the horizontal crease, then spread its sides again.

  21. 21. Reverse the last corner

    Turn over and turn two layers from right to left. Pinch the two sides of the long pointed corner together. Reverse its tip inward between its own layers at the horizontal crease, then spread its sides again.

  22. 22. Spread the four sides

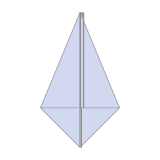
    Separate the layers into four pairs like the pages of a book. Keep the closed tip together and space the pairs evenly in four directions.

  23. 23. Open the bell

    Ease opposite sides of the mouth apart. Let the inner folds open and turn outward, spreading all four points. A hollow bell forms between them.

Settings

Clear saved data