Miura fold
A map fold that opens in one motion when you pull two corners and closes when you push. A Japanese satellite launched in 1995 used it for a solar panel.
- DifficultyChallenging
- PaperA4, landscape
- Steps11
- About25 min
Why this level: The slanted creases must be measured and folded evenly, and at the end every crease folds at the same time.
You need: 1 sheet of A4 paper (thin paper works best), A ruler and a pencil
Preview Preview: checked on screen; real-paper verification is in progress.
Steps at a glance

1. Divide into 4 strips
Lay the A4 sheet sideways, coloured side up. Fold the bottom edge to the top edge and unfold. Fold the bottom edge and then the top edge to the middle crease and unfold. You now have 4 equal strips.
2. Pleat into a strip
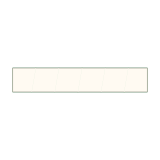
Fold the bottom strip up (valley fold), then fold the bottom two strips together behind (mountain fold). Fold the top strip down in front (valley fold). You get a long strip pleated into 4 layers.
3. The first slanted fold
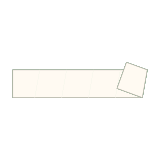
Fold the right end of the strip to the front along a slightly slanted line: 5.1 cm from the end along the bottom edge and 4.2 cm along the top edge.
4. Fold back
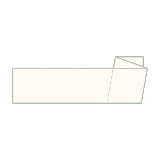
Along a line parallel to the first one and 5.1 cm further left, fold everything on the right behind (mountain fold).
5. Fold the left end
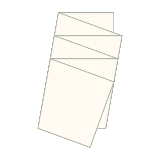
From the left end, fold along parallel lines with the same slant, 5.1 cm apart: to the front, behind, then to the front. Press the small thick block hard so every crease is sharp.

6. Open everything
Unfold the strip, then unfold the pleats. The sheet is now covered with slanted parallelograms, and the up-and-down creases form zig-zag lines.
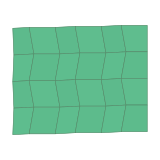
7. Set the zig-zag creases
Pinch the 1st, 3rd and 5th zig-zag lines from the left into mountain folds. Make the 2nd and 4th valley folds (turn the paper over and pinch them as mountains from the back). The sheet turns wavy.
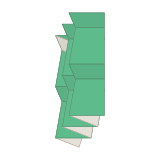
8. Squeeze from the sides
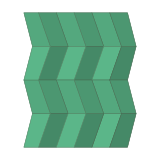
Slowly push the left and right ends toward the middle. The zig-zag lines fold deeper and the straight creases start folding by themselves, switching between mountain and valley at every zig-zag line: a herringbone pattern.
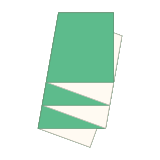
9. Press it flat
Keep squeezing, now also from the top and bottom, until everything lies flat as a small block. The Miura fold is done!
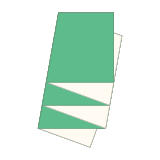
10. Pull to open, push to close
Hold the top-left and bottom-right corners and pull them apart: the whole sheet opens in one motion. Push them back together and it folds up again along the same creases.
11. Stop halfway
Pull just a little and it stays half open. Hold it level to see the herringbone pattern. All the creases move together, so a single pull decides the shape of the whole sheet.