Skip to content
Paper Play

Buildings

Stairs

Crease a long strip into halves, quarters and eighths, pleat it like a fan, and stand up four steps with a back wall and a floor.

  • DifficultyIntermediate
  • Paper4:1 strip (e.g. 24 × 6 cm)
  • Steps7
  • About10 min

Why this level: The folds are simple, but the divisions must be exact, and at the end every pleat opens to a right angle so the last step meets the end of the floor.

You need: 1 long strip of paper

Preview Preview: checked on screen; real-paper verification is in progress.

Start folding

Story

Paper stairs have been folded by schoolchildren for well over a hundred years, and nobody knows who first made them. The oldest record we know of is a French book of children’s games and paper work from 1889, which calls them “L’Escabeau” (the stepladder). The same stairs appear in a French school book of 1892, a Japanese handicraft book of 1905 and a Chinese paper-folding book of 1914, which glues the bottom step to the floor.

Did you know? A 1939 book from Argentina also shows the same pleats made into a “Persian blind” for a window.
Learn more (external sources)

Steps at a glance

  1. 1. Fold in half and unfold

    Lay the strip lengthwise, white side up. Fold the right end to the left end and unfold.

  2. 2. Halve the left half

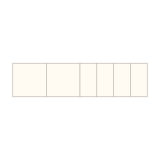
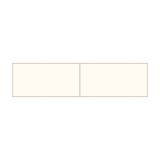
    Fold the left end to the centre crease and unfold. The left half is now in two parts: the floor and the back wall.

  3. 3. Divide the right half into four

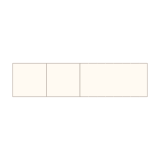
    Fold the right end to the centre crease and unfold. Then fold the right end to that new crease and unfold, and fold the right part over so the new crease meets the centre crease, and unfold.

  4. 4. Divide it into eight

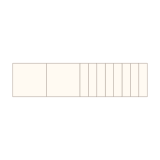
    Four more times, fold the right part over so that two neighbouring creases meet, and unfold. The right half now has eight equal panels.

  5. 5. Pleat it like a fan

    Starting at the first panel of the right half, fold the panels back and forth (valley, mountain, valley…) so they stack up like a fan.

  6. 6. Stand up the wall

    Leave the left panel (the floor) on the table and fold the next panel up to a right angle: this is the back wall. At the centre crease on top of the wall, fold the pleated stack over toward the floor at a right angle: this is the top step.

  7. 7. Open out the steps

    Open each pleat to a right angle so treads and risers take turns. When the end of the bottom step rests on the end of the floor, your stairs are done!

Settings

Clear saved data